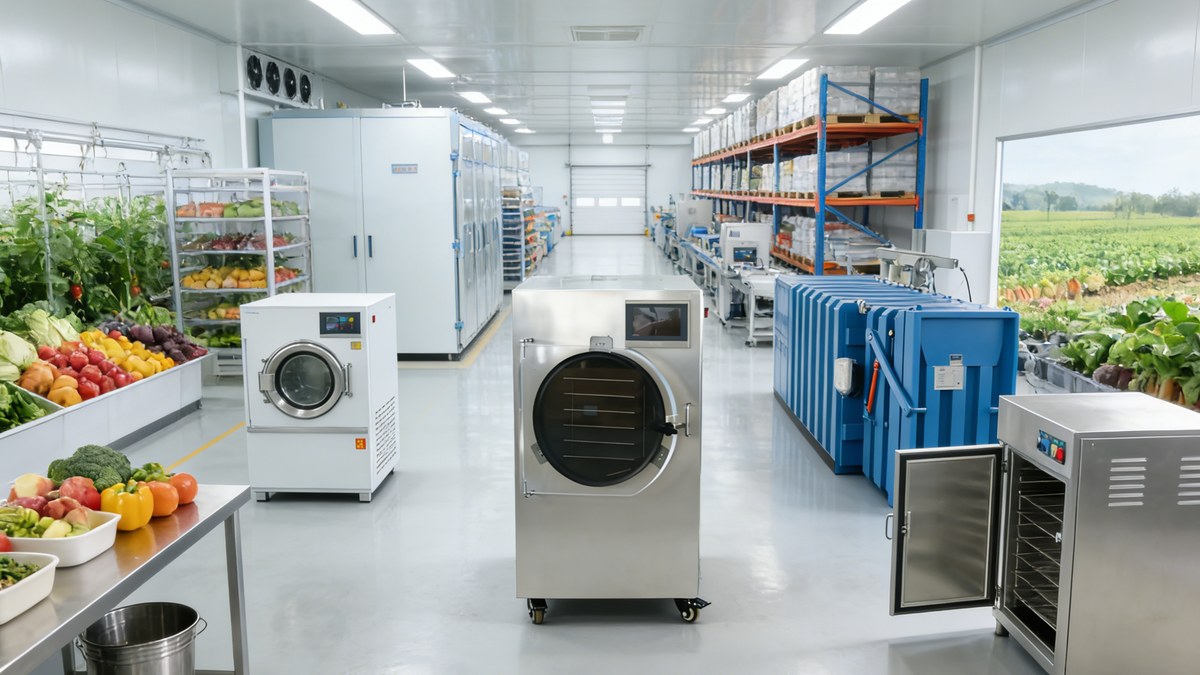
The Critical Window
Field heat begins degrading produce quality the moment it is harvested. Every hour of delay in cooling reduces shelf life. Vacuum pre-cooling installed at the farm gate or packhouse entrance eliminates this delay.
Integration Workflow
Harvest → Trim/Grade → Crate → Vacuum Pre-Cool → Cold Storage → Refrigerated Transport
                               ↑
                         30-40 min cycle
Capacity Planning
| Shift Hours | Cycles per Shift | Single 2-Pallet Unit | Single 6-Pallet Unit |
|---|---|---|---|
| 6 hours | 8–9 cycles | 8–9 tons | 24–27 tons |
| 8 hours | 10–12 cycles | 10–12 tons | 30–36 tons |
| 10 hours | 13–15 cycles | 13–15 tons | 39–45 tons |
Based on 30-min cycle + 5-min load/unload per batch.
Layout Considerations
- Position at the receiving dock, before cold storage entry
- Space 10–25 m² per unit, with 2m clearance around equipment
- Water evaporative models need 2–3 m³/day; water-cooled need 3–5 m³/h circulation
- Power 380V/50Hz/3P, breaker sized per model (150A–300A)
Operational Tips
- Stage crates — Pre-load produce onto pallets/trolleys before the unit is free
- Stagger cycles — With two units, load one while the other runs, achieving continuous throughput
- Match truck schedules — Schedule pre-cooling to finish 15 min before loading time
- Monitor core temperature — Use probe sensors, not surface readings
For more information contact sales@vacuum-fresh.com